


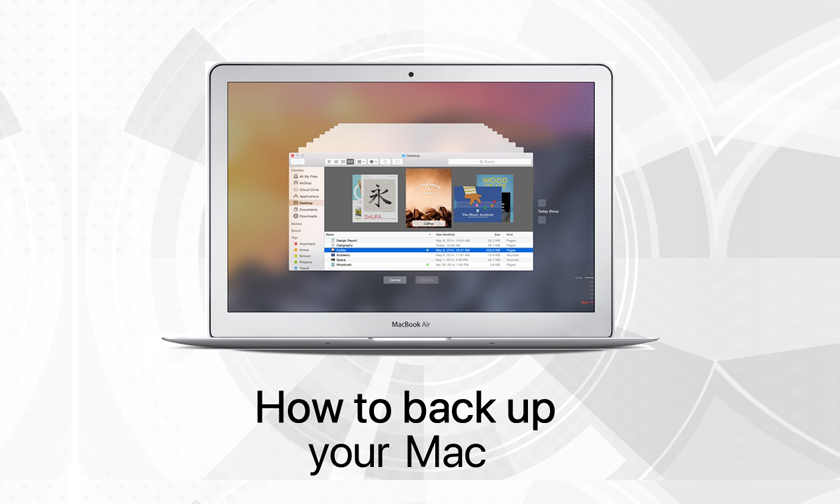
Here's how to back up your Mac to an external drive.
Consider backing up to both iCloud and a local drive for a more robust backup plan. Additionally, the external drive (whether HDD or SSD) remains a solid choice if you prefer a physical location to store, protect and share your data.
Let’s go over how to back up your Mac to an external drive.
MAKE SURE YOUR DRIVE IS PROPERLY FORMATTED
If you are going to use an external hard drive or an external SSD to back up your Mac data, then you should start by formatting it for the macOS extended file system — except for a few exceptions, most external hard drives are not pre-formatted for Macs. Fortunately, it’s a simple process and can also teach users a bit more about their drives.
Step 1: Connect your new hard drive to your Mac.
A new drive is ideal here. If you use an older drive, things get more complicated. Re-formatting will erase any old data that you have on the drive, so you’ll want to double-check and move any valuable data over to another device before moving on.
Step 2: Launch Disk Utility.
Disk Utility is located in Applications, under the subheading Utilities. Access Applications via the Dock.
Step 3: Find the hard drive you want to reformat.
All drives and volumes on your Mac will be listed in Disk Utility, so make sure you pick the right one.
Step 4: Erase the drive.
Choose to Erase in the Disk Utility window, confirm that’s what you want to do, and get ready to rename the drive.
Step 5: Choose the new map scheme.
You will now be asked to pick a new format, including Extended (Journaled), Extended (Case-sensitive, Journaled), Extended (Journaled, Encrypted), and so on. The Mac OS Extended (Journaled) format uses Journaled HFS Plus to keep all your data organized.
The Encrypted option adds a password and encryption, while Case-sensitive differentiates folders with upper/lowercase letters (“September” and “september” stay separated, etc.).
Step 6: Erase and confirm.
Your drive will be reformatted!
BACKUP LARGE AMOUNTS OF DATA VIA TIME MACHINE
Time Machine allows you to back up your Mac with automated, scheduled backups. If you don’t mind having your external drive connected to your Mac continually, Time Machine takes a lot of work out of the backup process. Here’s what to do to activate it:
Step 1: Open Time Machine and make sure it is turned on.
You can find Time Machine in System Preferences, which is located in your Dock. There’s a big switch on the left side of the Time Machine window to turn it on or off. Turn it on.
Step 2: Select your drive.
Under Select Disk, choose the drive for backing up your data. If you completed the formatting steps under the first section, this shouldn’t be a problem, although you may have to enter the password for an encrypted drive.
Step 3: Check Options.
Under the Options button, you can choose which volumes of data you want to back up, which is handy if you don’t want to save all the data you keep on MacOS. If everything looks appropriate, then you are good to go.
Time Machine will automatically start backing up your data and allowing you to retrieve past data from 24 hours ago if something goes wrong — as well as data from any day in the past month, and any weekly data since Time Machine started working.
Author : idelta
Search
Recent Posts


Information
Help Center
Connect
- iDelta Electronic Services LLP
- info@idelta.co.in
- 9917798999
- 9917098990
- Contact Us
Find Us On


Store Locator
iDelta | All rights reserved