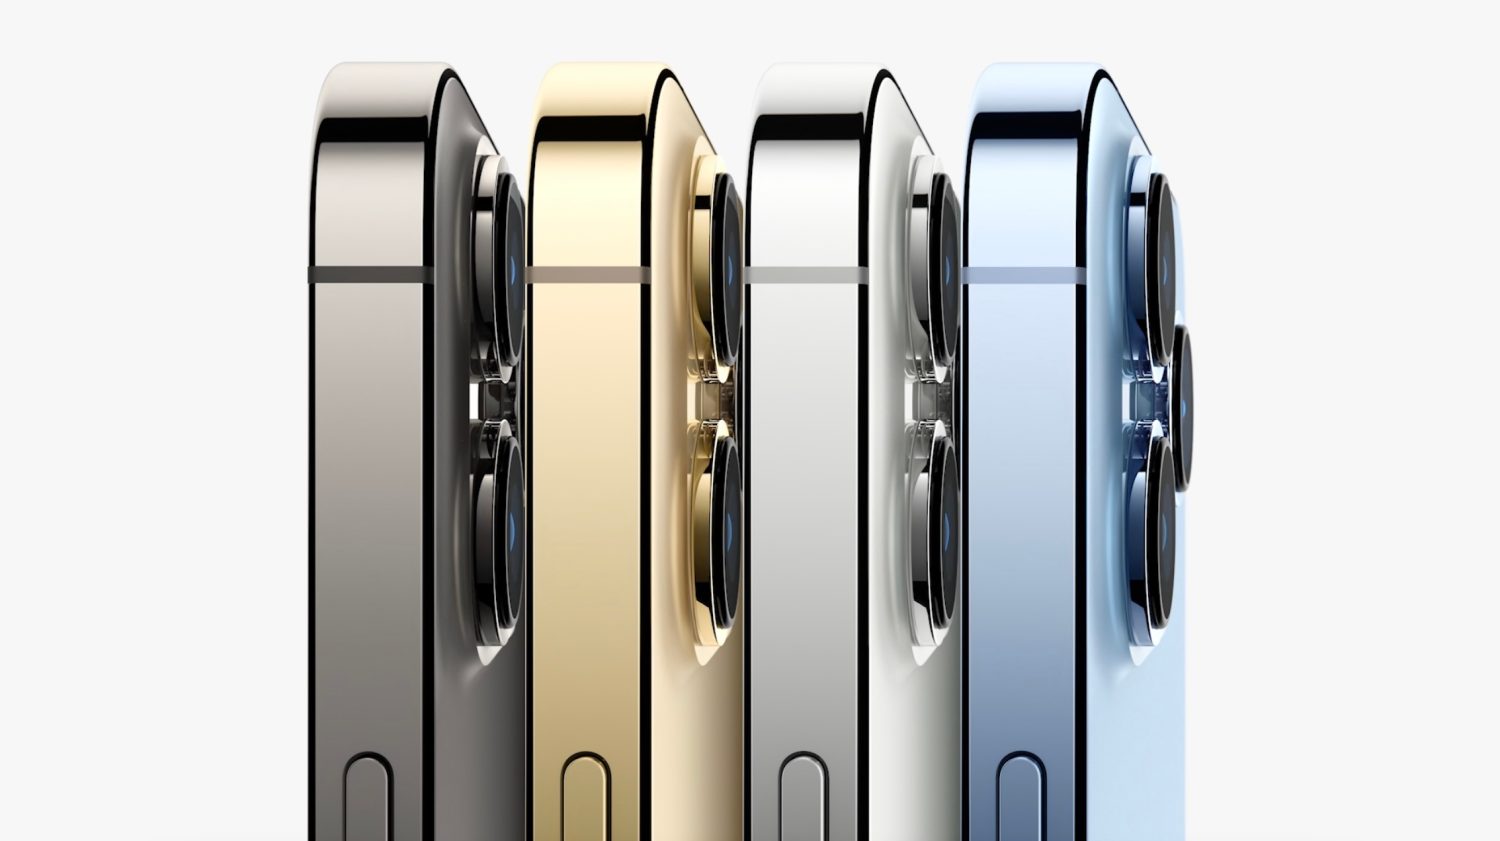
How to upgrade to your new iPhone 13 without losing data
The new iPhone lineup is on its way to the first customers. Read on for a look at how to upgrade to iPhone 13 without losing any data.
We’ll look at a couple of ways to approach upgrading to your new iPhone without losing any data. And if you’re upgrading to iPhone 12 or a different model, the same steps apply.
Option 1: iCloud or Mac
- Make a fresh backup with iCloud or your Mac
- Power on your new iPhone
- Follow the onscreen prompts, then choose Restore from iCloud Backup or Restore from Mac/PC Backup
- Sign in with iCloud and choose a backup, or plug in your new iPhone to your Mac with a Lightning cable to restore from an Mac/PC backup
Option 2: Direct transfer feature
In some situations, a local direct transfer might be the best fit.
If you do have two compatible iPhones, perform a new iPhone set up wirelessly by holding your current iPhone near the new device to begin the Quick Start process. Confirm the Apple ID is correct and then follow the steps. You will need to enter your current iPhone passcode on the new phone and set up Face ID or Touch ID.
Then, you will be given the option to transfer data, either the traditional iCloud option or using the new direct transfer option. Select Transfer from iPhone to use the new iPhone migration.
Direct transfer allows you to ignore iCloud altogether, so it is useful if your iCloud storage space is full and you don’t have enough room to perform a complete backup. Direct transfer copies across the same data as an iTunes encrypted backup; all your photos, media, app data, settings and more are sent over a peer-to-peer wireless connection.
Author : idelta
Search
Recent Posts

iDelta | All rights reserved


